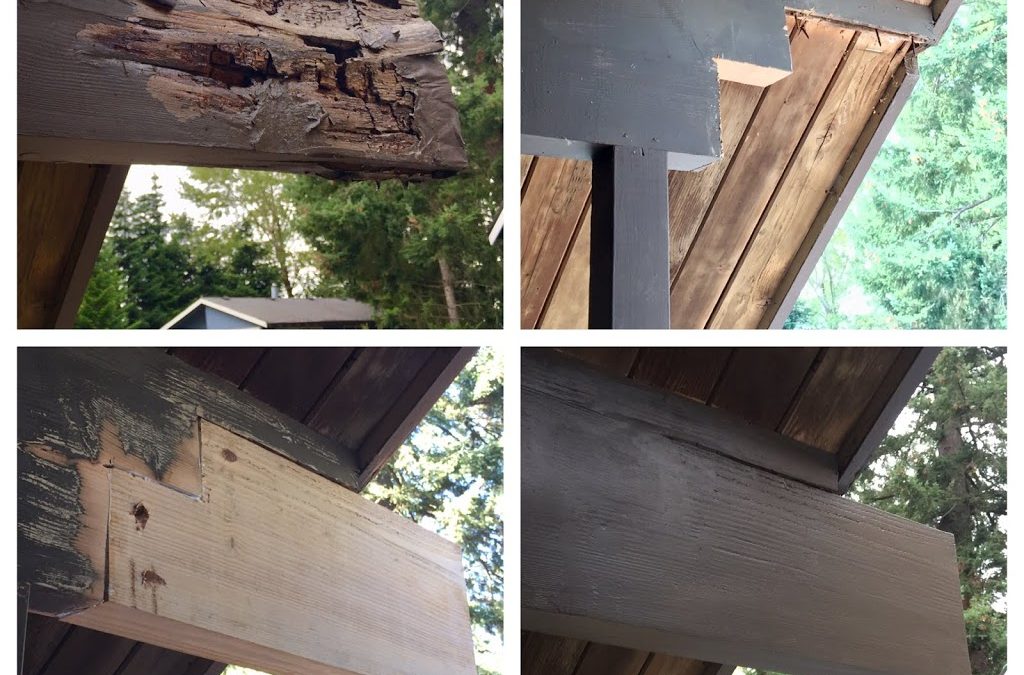
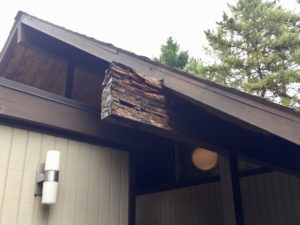
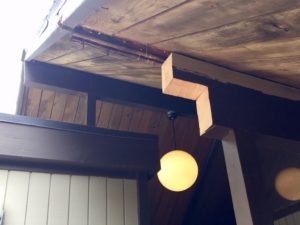
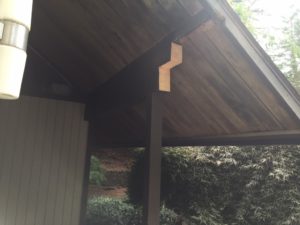
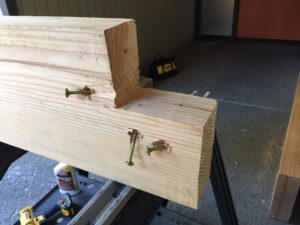
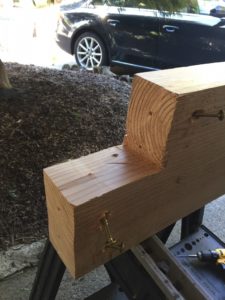
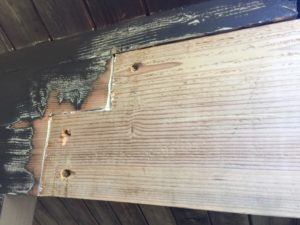
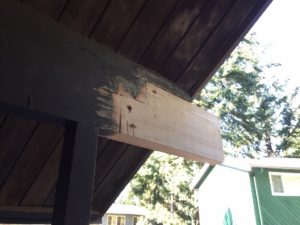
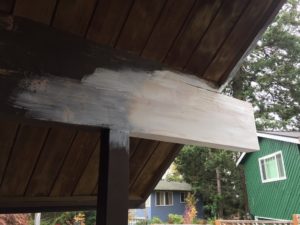
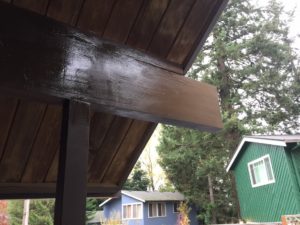
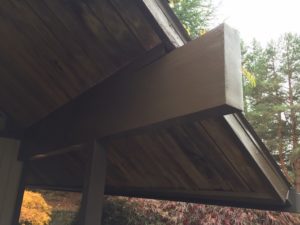
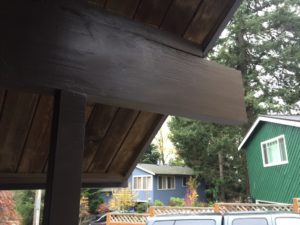
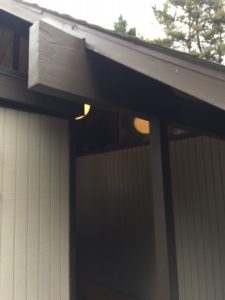
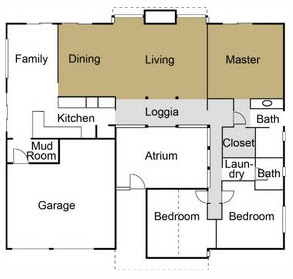
This style of Rummer was originally built with beam ends sticking out at the peaks and at the lower ends of the roof. Sticking out anywhere from 9-12 inches. When new, our house had eight of these in total. Long before we bought the house the four beam ends at the peaks had been cut flush and covered with metal flashing. All four lower beams are still there and all are experiencing some degree of rot. They’ve been exposed to the elements for 42 years. Painted, but no galvanized steel caps. Rot settled in many years ago and started doing its thing.
When you’re not sure how to fix something, it’s amazing how long you can pretend it’s just not there. And the longer you “forget” about it, the worse the problem becomes. After all, the beam ends that stick out aren’t really structural, so no big deal, right? Ummmm…no.
Because it’s the most visible, we chose to start with the worst one.
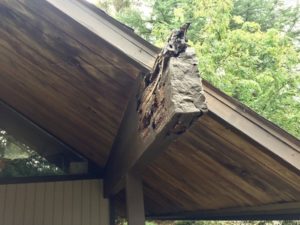
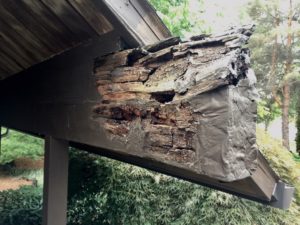
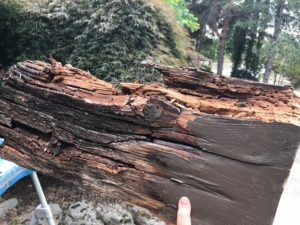
1- Remove the rotten section of wood
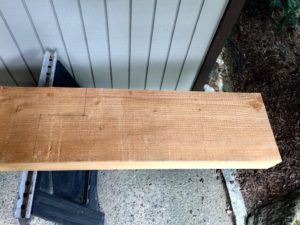
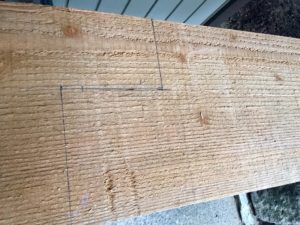
2- Cut a new piece that fits in just right
3- Attach it
4- Fill and sand any gaps/seams
5- Paint it
You’re done
3- Attach it
I talked with the guys at the lumber yard and they suggested we use 4-inch, hardened, galvanized, lag-screws and toenail it together. They thought 4 would be enough, but I used 6. I pre-drilled the holes, then made them larger to countersink the screw heads.
Then I put the screws in until they were almost all the way through the new piece, applied a bunch of waterproof wood glue to both new & old surfaces, got some help to hold it in place and screwed everything together.
I used that old belt sander with 40-grip paper where it was really out of wack (1/4-inch off at the worst spot…seems the original beam has a bit of a “cup” to it), then I used a smaller (lighter!) sander to lower the high spots and save my shoulder muscles.
If you try this, wear safety glasses!!! And maybe a mask, too. That dust gets everywhere!
(SORRY! I thought I had pictures of this phase…but I can’t find any. Just imagine the above pics, only smoother and with Bondo filling up the gaps and screw holes.)
…open up the Oxford Brown…
…and finish up with a nice paint job.
This was NOT an easy job. But it turned out really nice and it’s SO great pretending not to see that rotten stump of a beam we lived with for so many years.
One beam down. Next up…the peaks! That’ll be super tricky….
