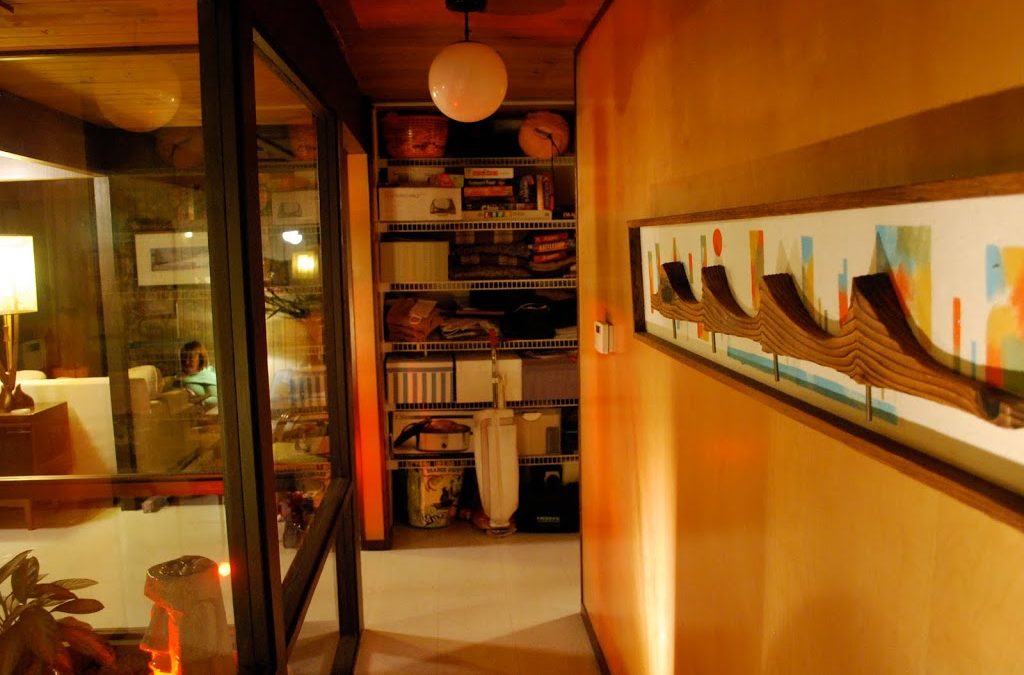
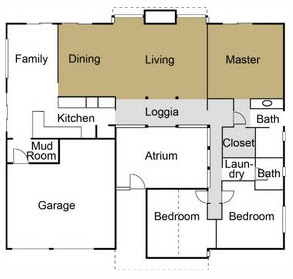
The first week after we bought the house we ripped out the gold-mirrored, floor to ceiling closet doors in the hallway and promptly threw them in the dumpster! Whew…. But wait. We had nothing to replace the doors with. Consequently, we have been staring at our junk pile in the closet for nearly 3 years. Now, it wouldn’t be so tragic except for the fact that the hall closet is prominently positioned in the front hall right behind the glass wall where our tiki fountain focal point sits in the atrium. Doh!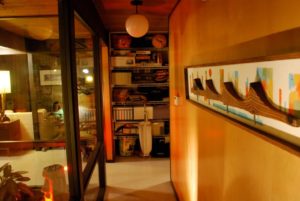 I started my search for door options. Flush panel, floor to ceiling doors were the easiest and most affordable option, but they seem too heavy and dark for the small, dark area at the end of the hall. Hmmmm. Then I found this photo of a shoji screen door design and knew that was an excellent option. Now, where do I get them?
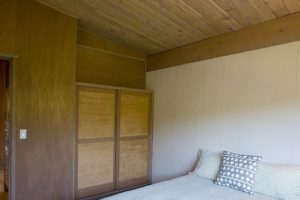
We really like the natural look of the panels in this photo, but most shoji screen closet doors I found have glass panels. Time to get creative!
Several years ago I was given a roll of grass cloth wall paper. (Thanks, Ty!) At the time I didn’t know what I would use it for… I just knew that I loved the look and would find a way to use it in the house. Grass cloth paneled doors are just the thing I need for the closet! We contacted our favorite door supplier to see if we could get the doors made without the panels. Then we could make and insert our own panels covered in grass cloth wall paper! Easy.
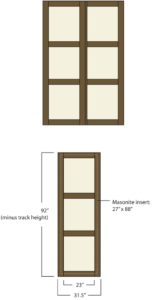
Apparently, I am developing this nasty habit of asking for things that are nearly impossible to create. And if it can be built, it will cost a fortune! Once my eyes stopped burning from viewing the door frame bids (seriously, ranging from $1400 to $2200 for ONE SET of 60″ x 92″ closet doors… just the frames…OUCH!) I started drawing up plans. Steve has tools and skills. I knew he could make these frames.
Supply List:
6) 3″ x 8′ Hemlock boards
2) 28″ x 88″ Masonite boards
2) cans of spray adhesive
1) roll of grass cloth wall paper
1) standard closet hardware kit
1-1/2 inch brads
1/2 inch staples
primer paint
oxford brown paint
utility knife
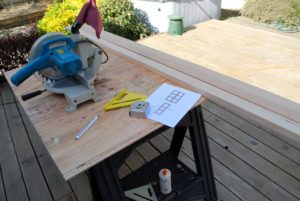
Simple frame construction. These are fairly light weight so they didn’t need to be over-engineered. Steve just toenailed the pieces together with 1-1/2 inch brads.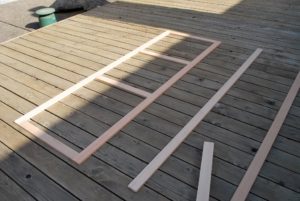
Primer coat on.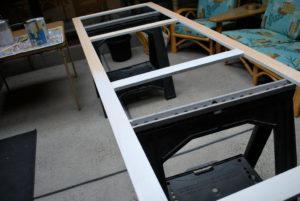
Final coat of Oxford Brown. (2 coats)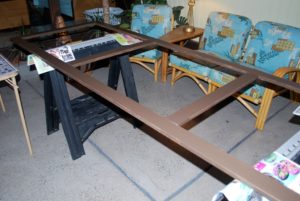 Preparing to spray the Masonite and grass cloth with adhesive. (Hint: I had Lowe’s cut the Masonite to the exact size I needed. They offer this service at no extra charge and there’s no need to get out the jigsaw or table saw at home. Yay!)
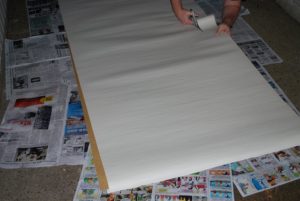
Trimming the panels. We cut the wall paper a bit bigger than the Masonite so we could get a perfect edge for trimming.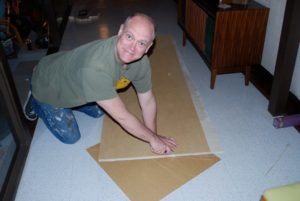
The grass cloth panel looks amazing!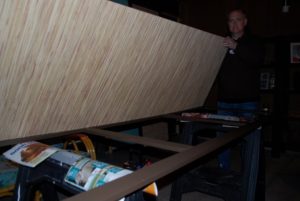
Attaching the panels to the door frames. 1/2 inch staples did the trick just fine.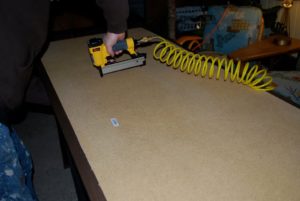
Installing the the closet door hardware. This is just basic, bedroom style sliding closet door hardware. We didn’t show the metal track we attached to the ceiling, but trust me… it was super easy to hang.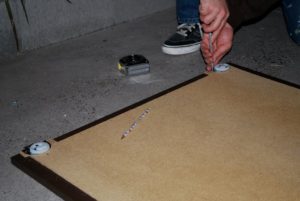
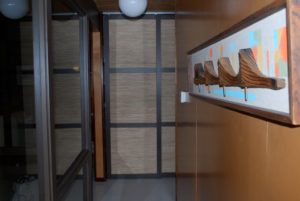
The finished doors in place. I’ve gotta admit that it’s much better than looking at all our junk in the closet… and it’s far better than the gold and glass doors that were there when we moved in! We still have to put up a piece of trim to cover the metal track that the doors are hanging from, but that project can wait for another day.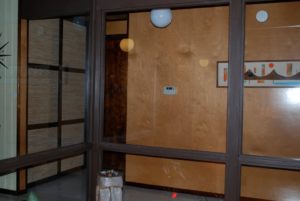
Total cost: $75
Time: About 3 hours labor; 4 hours of paint drying
Yeah, I’m pretty impressed with this one. I never thought we’d be making closet doors, but I never thought we’d be renovating a house from top to bottom either!


You did a great job on these doors. They look great! What type of hanging door hardware did you use? The doors look like they are mounted on the wall and not hanging from the ceiling. We need to replace the closet doors in our Rummer too. – Marci
Seriously, people are so used to thinking of *buying* instead of building these days. I'm so glad you realized you weren't limited to what OTHER people could provide you. You definitely have the skills to do for yourselves! Really sharp outcome too 🙂
Thanks for the kind words!
I'll add something about the hanging hardware. They are hanging from the ceiling with regular old bedroom closet hardware from Home Depot… $12 I think.
Shockingly easy to make.
Those look great! Congratulations on a job well done.
Hi guys!
What a fun way to catch up with what our neighbours over the hedge have been up to! In fact Peter thought he saw you doing "that roof thing" the other day but maybe that was just taking a break from your joinery endeavours….
The new doors look great and what a wonderful solution Steve!
Hope to get together soon and catch up on the Rummer news, like Rummer Park? love Susie
Hey Susie!
Steve was up on the roof cleaning the windows. They look great and we can watch the trees bloom from the living room now. 🙂
those look awesome! i think i want you two to come build things for my house, too, okay? or at least teach me how 🙂 i miss you guys!
The work is done very well looking into every bit of detailing and thanks for sharing the same…it is like a very good experience seeing to take the project.
Closet doors can be tricky, especially in older houses where the walls are not straight or if the moldings are uneven. These came out beautiful, thanks for sharing.
You're not crazy, just creative!
I'm bookmarking your blog.
Paula